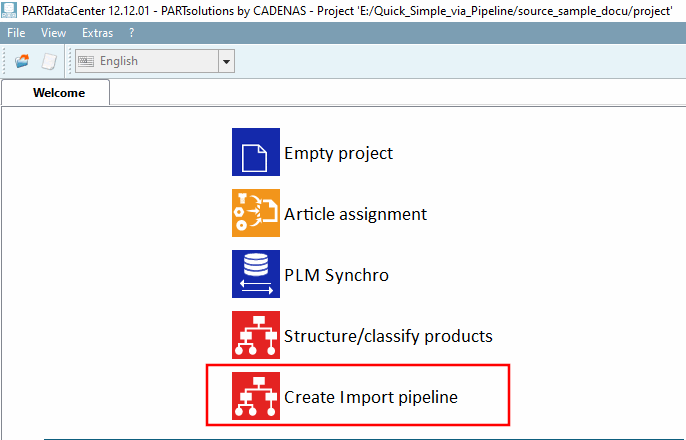
Call up the wizard. There are several options for this:
Initially click on the Create Import pipeline button on the Welcome page [Welcome].
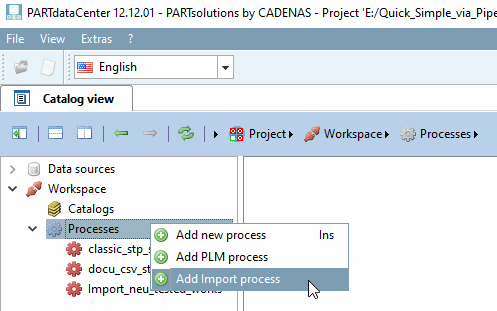
On the Catalog view Tabbed page under Processes, click on the context menu command Add Import process.
-> A wizard will open and guide you step by step through the input process.
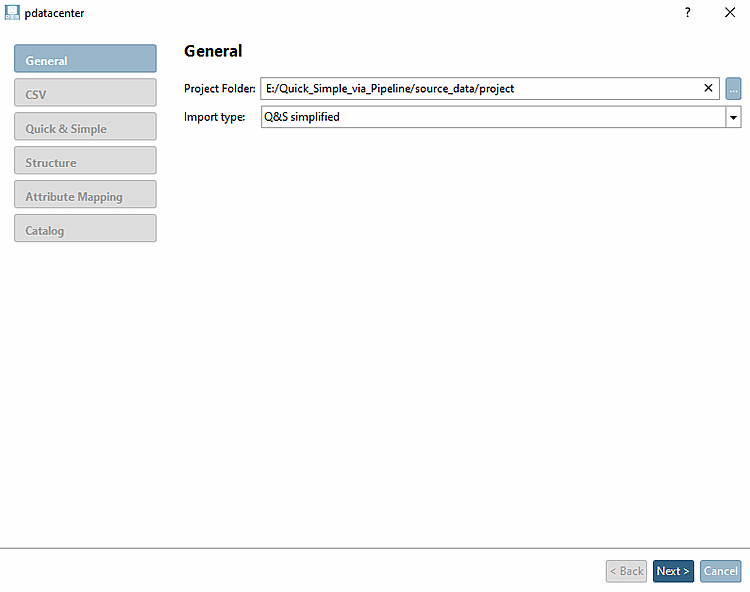
General
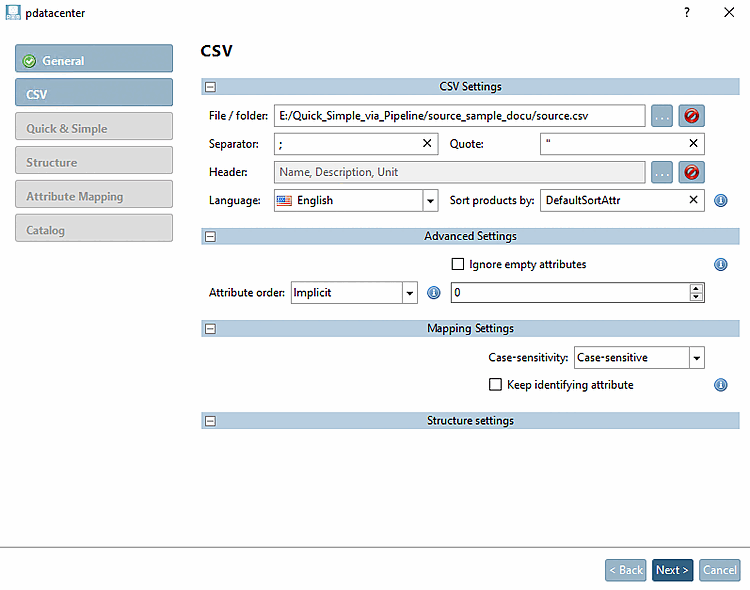
CSV
File / Folder: Use ... to specify the path to the CSV file.
Separator / Quote: Enter these according to the use in your CSV file.
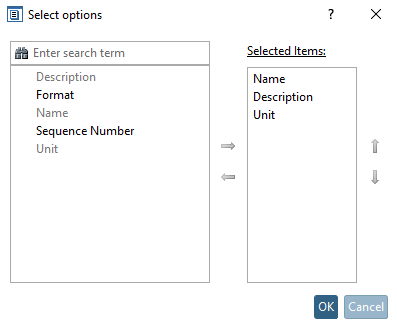
Header: Select the items according to the structure of your CSV file.
Quick Simple [Quick Simple]
By default, you do not need to make any adjustments here. Information on the Toleraz import options can be found at Section 1.4.2, “
Tolerance import settings via pipeline (or via configuration file)
”.
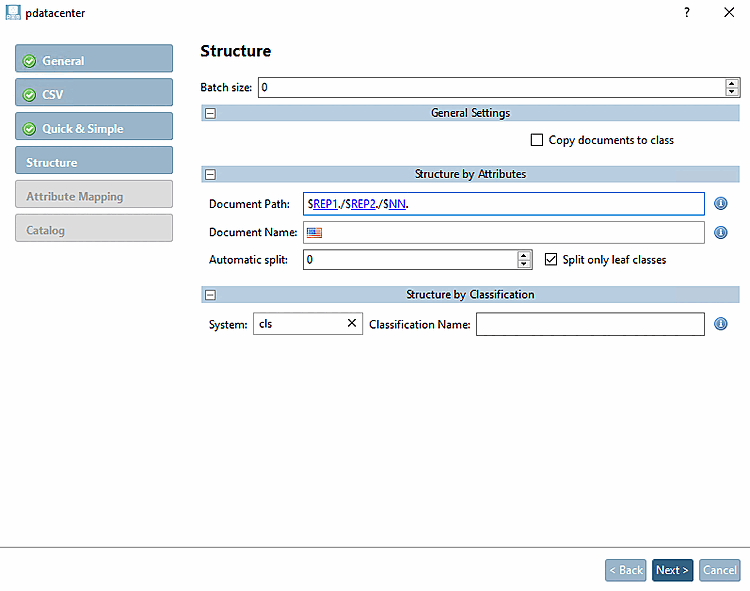
Structure
Document Path: List the columns that define the structure, separated by a forward slash. End with NN, which contains the project name.
Make sure that the entry under Document Path matches the structure-giving attributes in the CSV file.
Attribute mapping [Attribute Mapping]
Set attributes that are not to be displayed in the characteristic attribute table to "Remove". If you want to rename attributes, enter the desired name in the Attribute Target Name column.
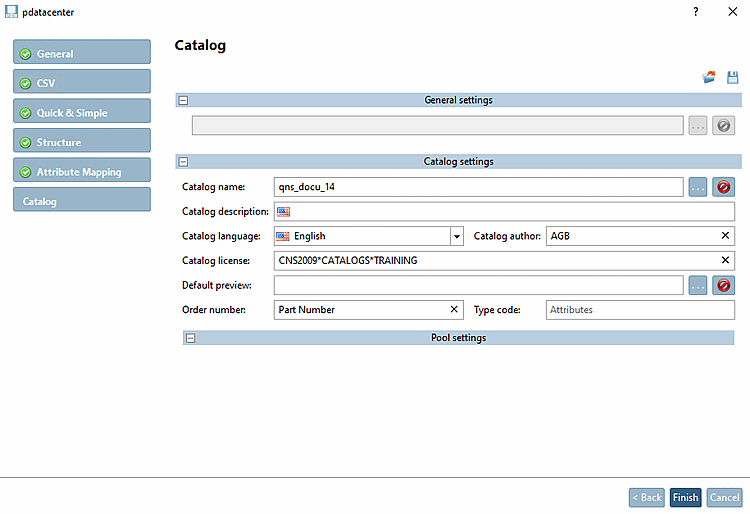
Catalog
Catalog name: Enter the desired catalog name.
Catalog description: Select the desired language.
Catalog language: Select the desired language.
Catalog author: Enter the author.
Catalog license: Specify a license (CNS2009*CATALOGS*YOURCATALOG)
Order number: Enter the column name for the order number.
Click Finish.
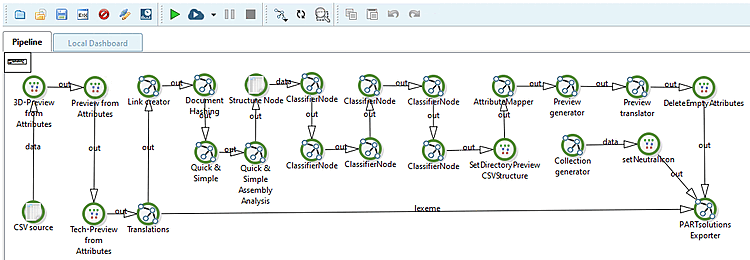
-> The pipeline is created automatically and displayed on the Pipeline Tabbed page.
Click
on the Start button  .
.
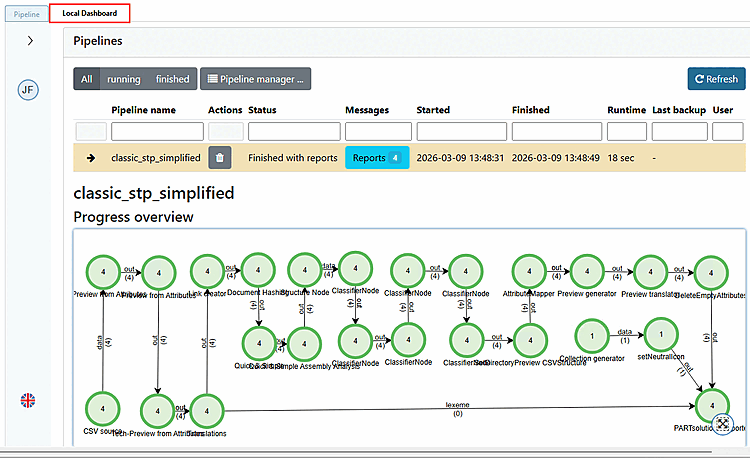
-> The pipeline is executed.
-> The view switches to the Local Dashboard Tabbed page.


![Quick Simple [Quick Simple]](https://webapi.partcommunity.com/service/help/latest/pages/jp/partwarehouse/doc/resources/img/img_0f7ef38eeb8a45689fd9732a54d1f54f.png)
![[Note]](https://webapi.partcommunity.com/service/help/latest/pages/jp/partwarehouse/doc/images/note.png)