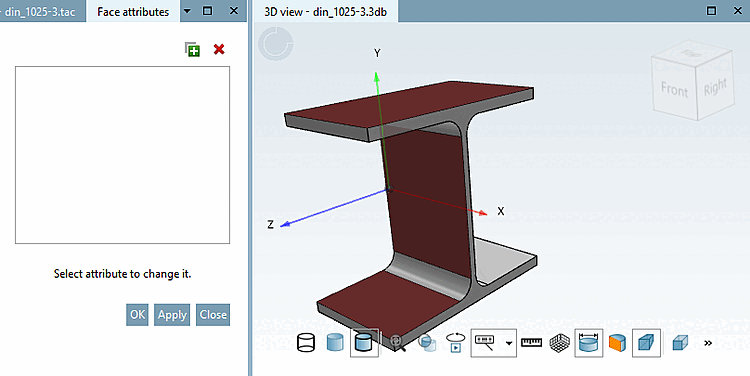
In order to set face attributes do the following (exemplified by the use of a color attribute):
In the 3D view, hold down the Ctrl key and select three surfaces that are to receive the attribute and then click on the command Surface attributes.... [Face attributes...]
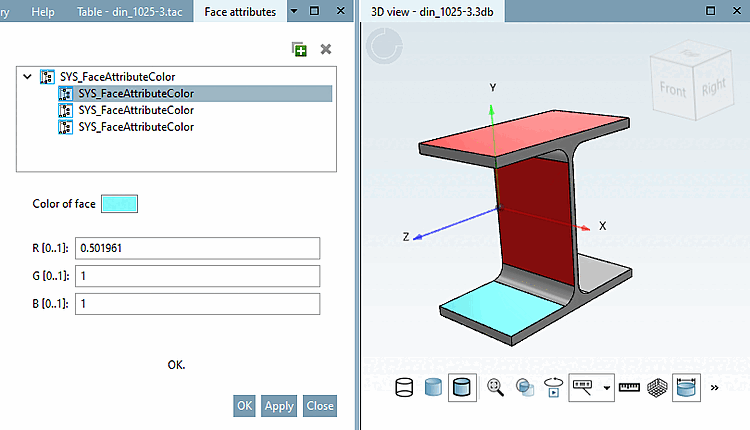
-> The Area attributes [Face attributes] docking window opens.
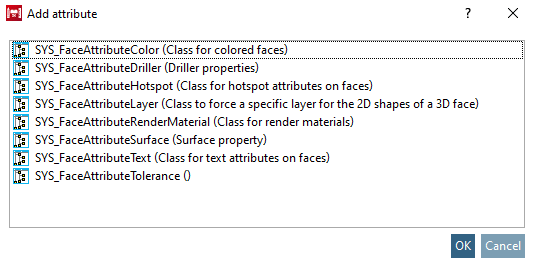
Select the desired attribute and confirm with . Here is an example: SYS_FaceAttributeColor (Class for colored faces)
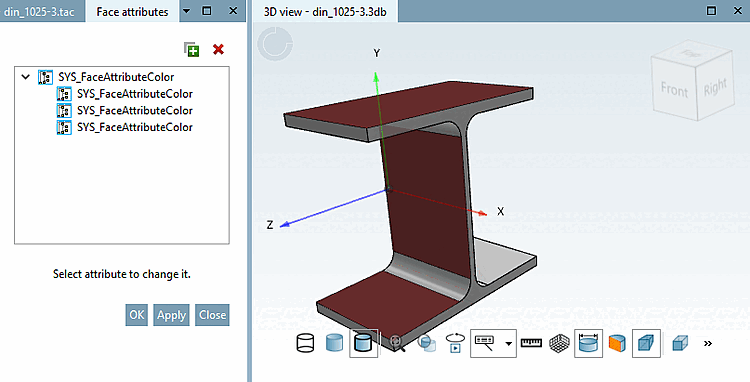
Because at the beginning a multiple selection had been made, now a tree structure with parent element and child elements is displayed. That means every child can be individually changed or all together by selecting the parent element.
-> The respective setting options are now displayed (here the area color [Color of face] field).
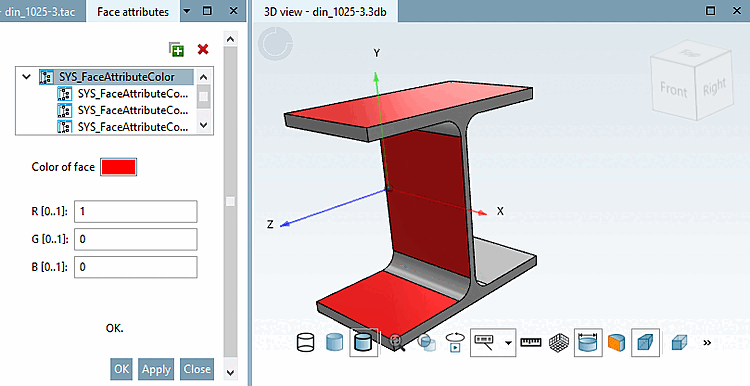
Select the desired color. The color values are calculated and entered automatically. Confirm with .
You can now confirm your settings with or . In the first case, the attribute is applied and the dialog is closed; in the second case, the attribute is applied and the dialog remains open for further changes.
-> All faces selected before now will show the chosen color.
Select a child element and apply another color.
Select the parent element and click on the delete icon
 . (In a tree structure, deleting is only possible
on the parent element.)
. (In a tree structure, deleting is only possible
on the parent element.)