
5.24.3.4.3. Generate a self-signed certificate 5.24.3.4.3.2. Generate a self-signed certificate using Windows
PowerShell |  |
| Prev | Next |
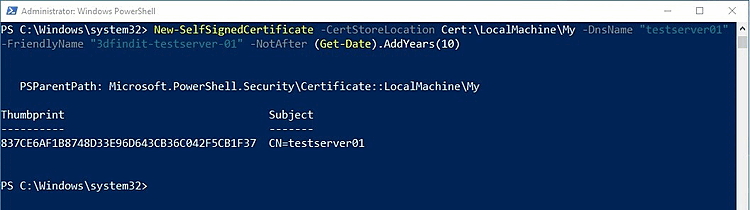
In this example, we'll use PowerShell as an administrator to create a self-signed certificate that is valid for ten years.
In this example, the server has the hostname “testserver-01”; we’ll use “3Dfindit-testserver-01” as the display name (Friendly Name). As the display name, you can enter anything you like or choose a slightly more descriptive name so that you can easily find your certificate if there are multiple certificates for the same host. The local server user is “root.”
The certificate is generated on the server. If generated manually, permissions must be added to the certificate for the local server user who accesses the AppServer.
In the next step, the generated certificate is exported and imported onto the server into the "Local Computer\Trusted Root Certification Authorities" store. Next, the exported certificate is distributed to the clients and imported there to the same location as on the server, that is, in the “Local Computer\Trusted Root Certification Authorities” store.
New-SelfSignedCertificate -CertStoreLocation Cert:\LocalMachine\My -DnsName "testserver01"
-FriendlyName "3dfindit-testserver-01" -NotAfter (Get-Date).AddYears(10)
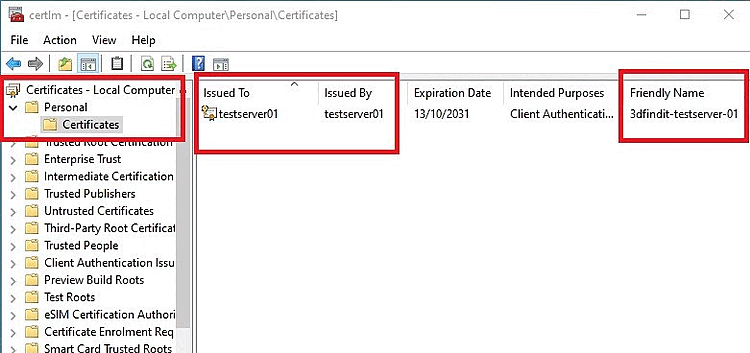
To add permissions to the certificate, launch the Windows Certificate Manager (Windows key + R -> certlm.msc ).
Under Certificates – Local Computer -> My Certificates -> Certificates, you will see the self-signed certificate that was generated.
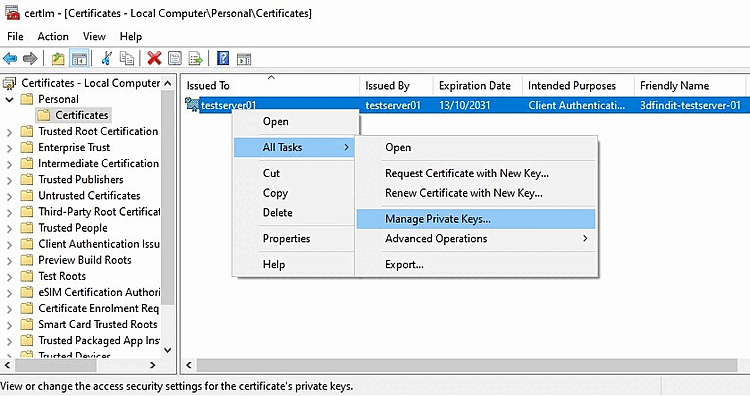
Right-click on the certificate and select All Tasks -> Manage Private Keys....
Click to add a local server user (in this case, the "root" user) to the list of users who are allowed to use the certificate.
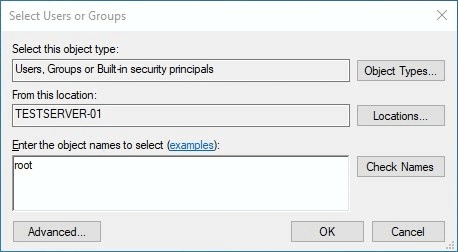
In the Select Users or Groups window, enter the username (in this case, "root") in the Enter the object names to use field, and then select
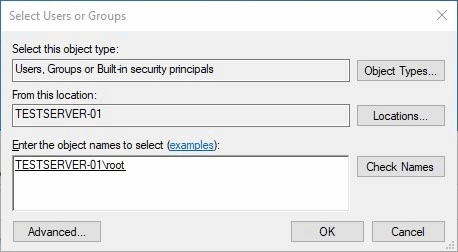
After selecting a the "Enter the object names to be used" field display an output in the format "HOSTNAME\Username"; in this example, "TESTSERVER-01\root".
In a domain environment, the output is: “Name (username@domain)”. Example: “user name (user@cadenas.de)”
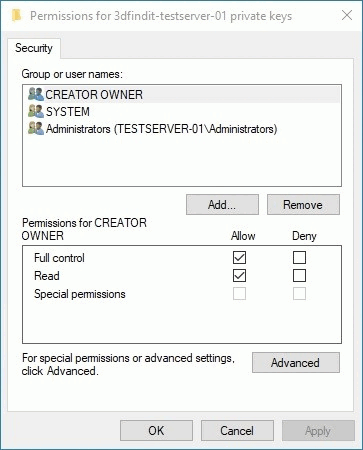
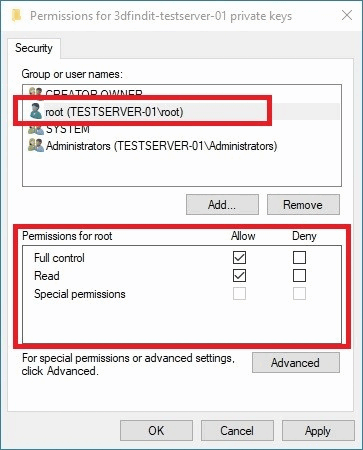
-> In the Security window, the user "root " appears in the list of group or user names with the "Allow " permissions for Full Control and Read.
Click . The permissions for the certificate have been successfully added for the "root" user.

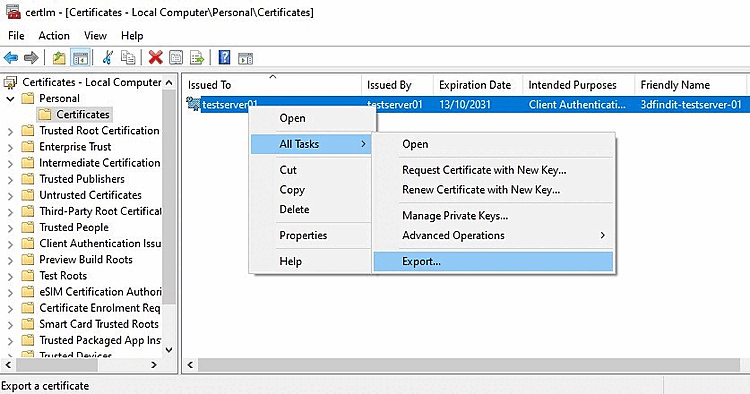
To export the certificate, right-click on the certificate and select All Tasks -> Export.
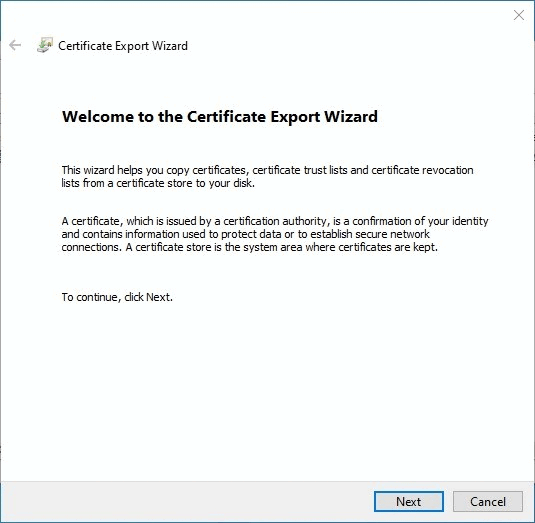
-> The Certificate Export Wizard will open.
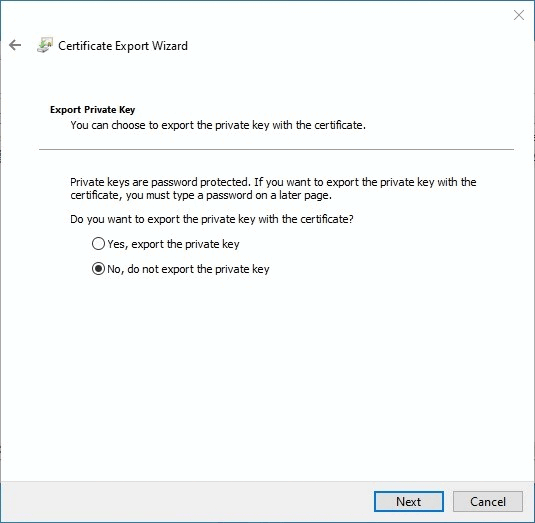
Select " No," "Do not export private key," and then click " ."
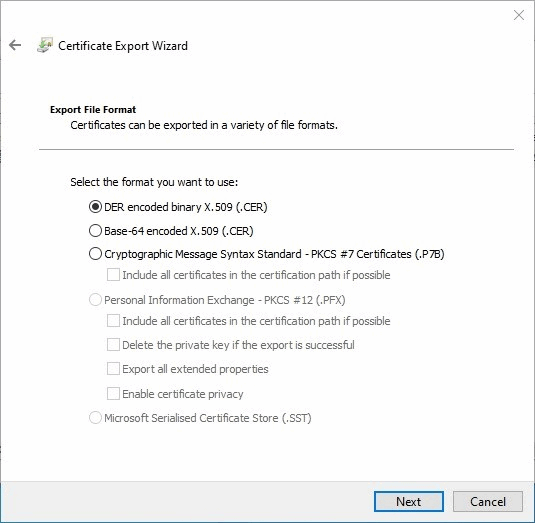
Select DER-encoded binary X.509 (.CER) and then .
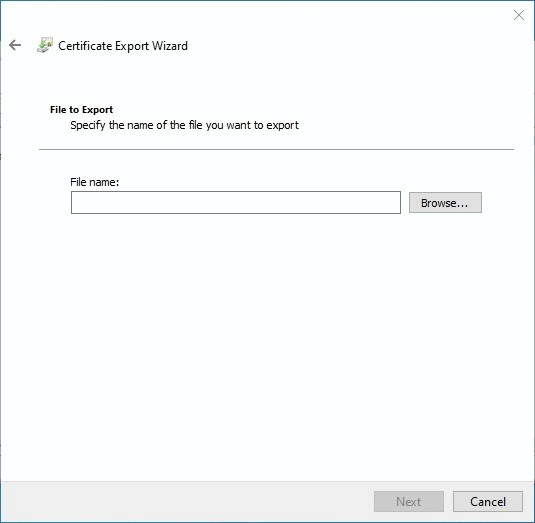
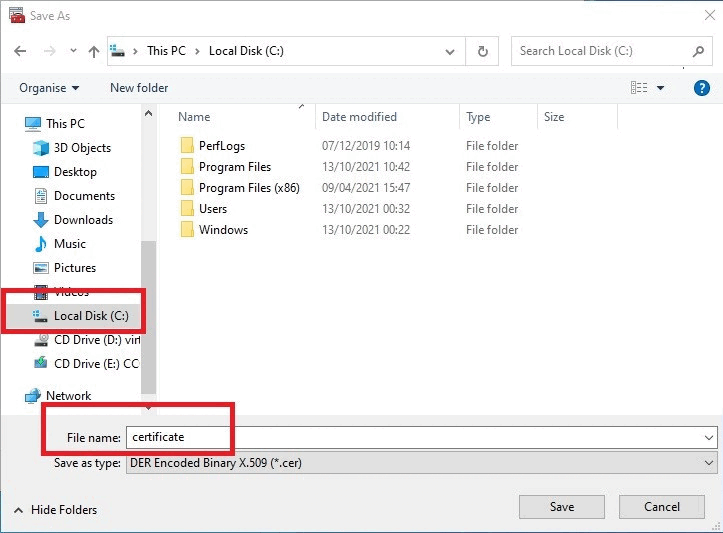
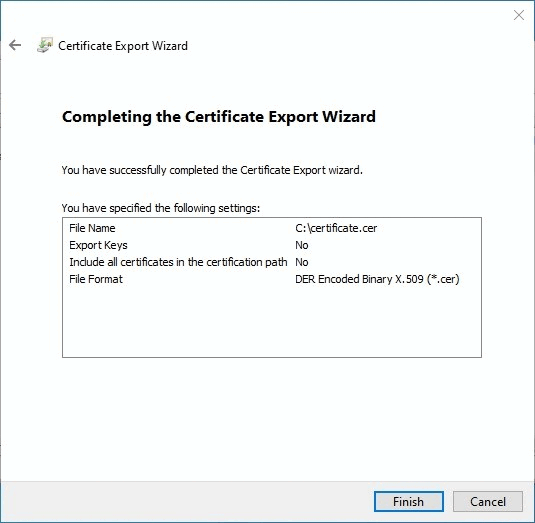
Select a location and name for the exported certificate, click , and then click (in this example, the location is drive C:\ and the file name is certificate ).
and . The export is now complete. Distribute the exported certificate to all clients.
In the next steps, the certificate is first imported onto the server and then onto the clients.