5.12.3. General information on classifications
5.12.3.2. Basic information on the procedure |  |
| Prev | Next |
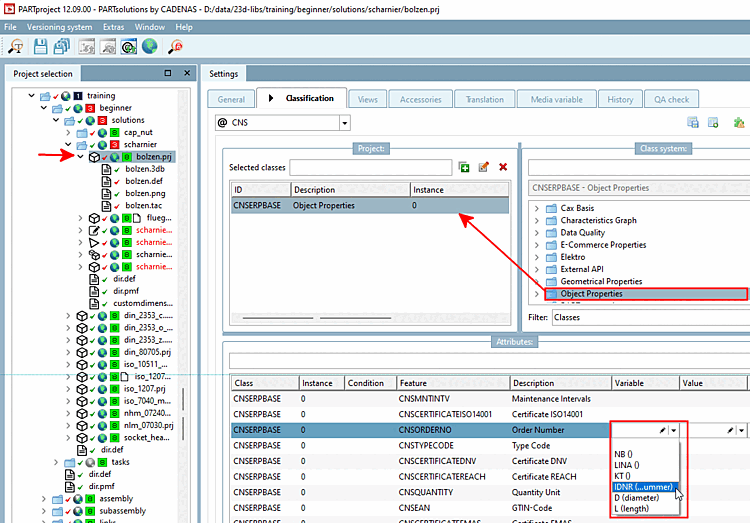
Select the desired class in the Class system dialog area and add it to the project by double-clicking on it. It is then displayed in the Selected classes dialog area.
Select the class to be edited.
-> All characteristics (attributes) of this class are now displayed in the Characteristics [Attributes] dialog area.

Details can be found at Section 5.12.6, “Assignment of classes and features (Tabbed page "Classification") ”.
At directory level, you can work with Section 5.12.7, “ Add projects to classification (context menu command) ” and Section 5.12.8, “ Classify projects in batch run (context menu command) ”.