
Import all projects from "Bikecompany" into the PARTlinkManager.
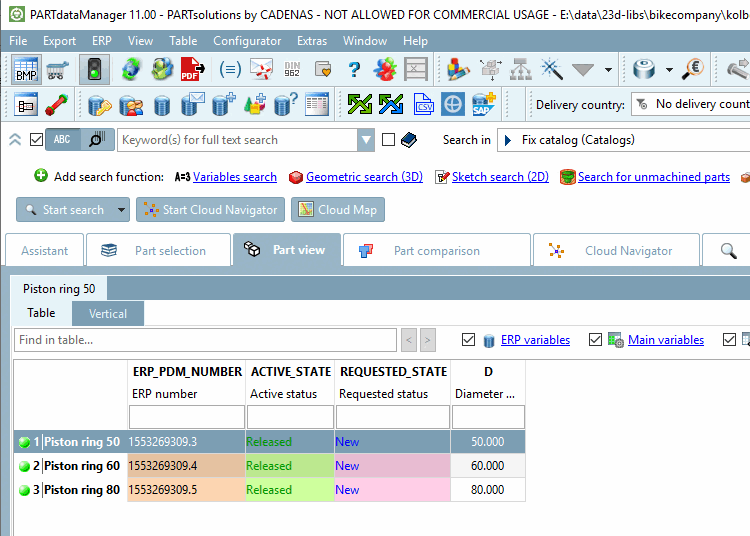
Assign ERP numbers to the single lines.[81]
Select all data records and click on Assign ERP numbers in the context menu.
The Generate value sequence dialog box opens.
Click on and then confirm with .
Select all data records again and click on Set fields -> Current status [Active status] in the context menu.
The Set values dialog box opens.
The PARTlinkManager now shows a small but realistic initial situation. Based on this data, the functions of the Update Manager [Update manager] will now be explained.
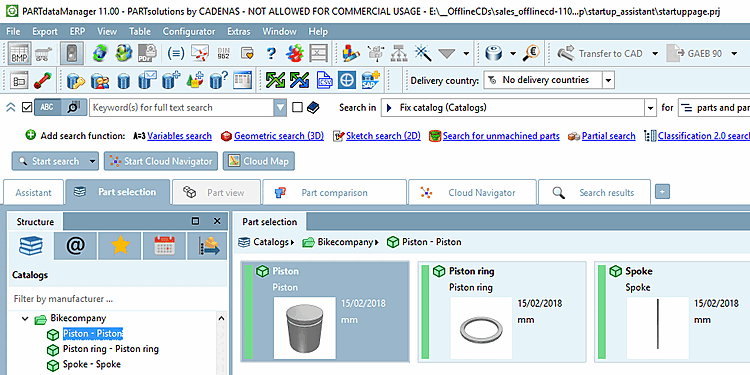
Open the PARTdataManager and select the "Bikecompany" catalog.
Open the projects "Piston", "Piston ring" and "Spoke".


In the next section a catalog update is conducted.
[81] You can do this in PARTdataManager via Add record to link database [Add dataset to link database]
 or as shown here in the PARTlinkManager (which is faster).