 Extrude up to the selected area
. [Extrude up to the selected face.]
Extrude up to the selected area
. [Extrude up to the selected face.]
The Method " [To face] Extrude to Face [To face] " extrudes a sketch up to a selected face.
![[Note]](https://webapi.partcommunity.com/service/help/latest/pages/jp/ecatalogsolutions/doc/images/note.png) | Note |
|---|---|
Unlike the "First" [To first] method, only a single face is allowed (no adjacent or contiguous faces). | |
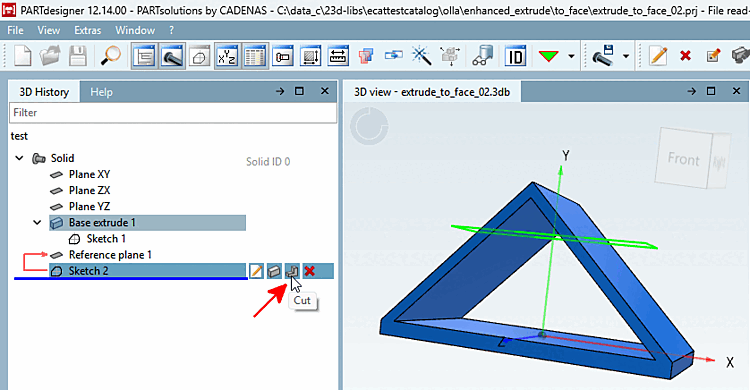
Select "Extrude " or " Cut " in Sketch.
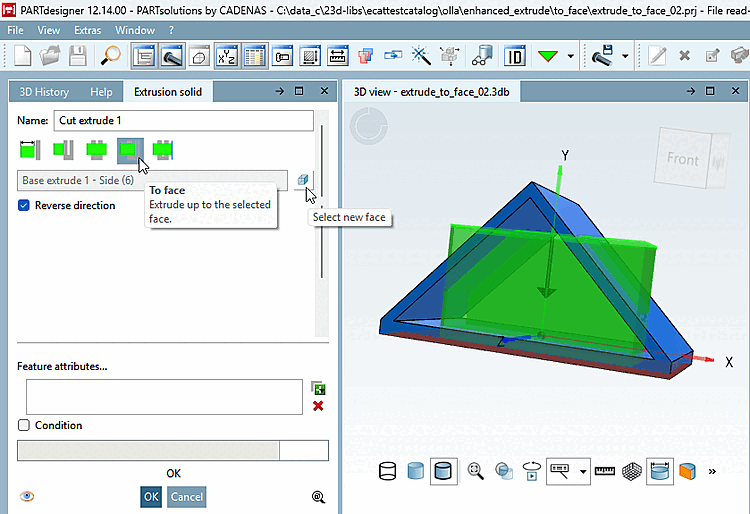
Select the "To Area [To face]" method.
Now you must select a target area. You can select it while "Select New Area" [Select new face] is enabled. The first time you open "To Area [To face]," this option is automatically enabled.
The "Select New Face" [Select new face] button is automatically disabled. If you want to select a different face, enable this button again and then select a different face in the 3D pane.
-> In this example, the lower surface was selected.
-> You can already see in the preview that the cut extends all the way to the bottom surface.
Additional examples and notes:
to area [To face]:
Up to selected area
extrude. [Extrude up to the selected face.]
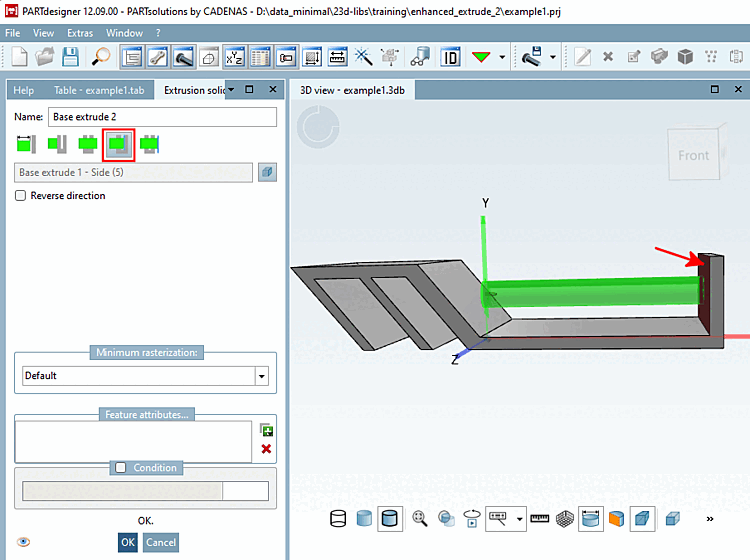
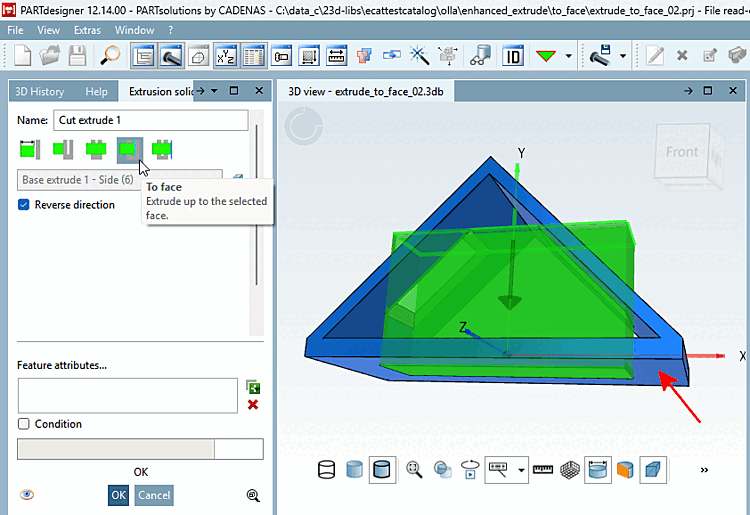
If you want to change direction, use
DO NOT select the Direction option
but [Reverse direction] first click on the
 new area
select [Select new face] and then select the desired new
Area.
new area
select [Select new face] and then select the desired new
Area.
-> The preview changes accordingly.
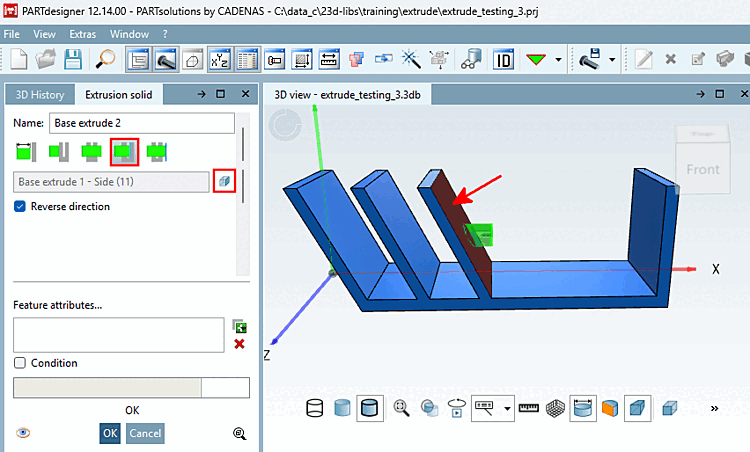
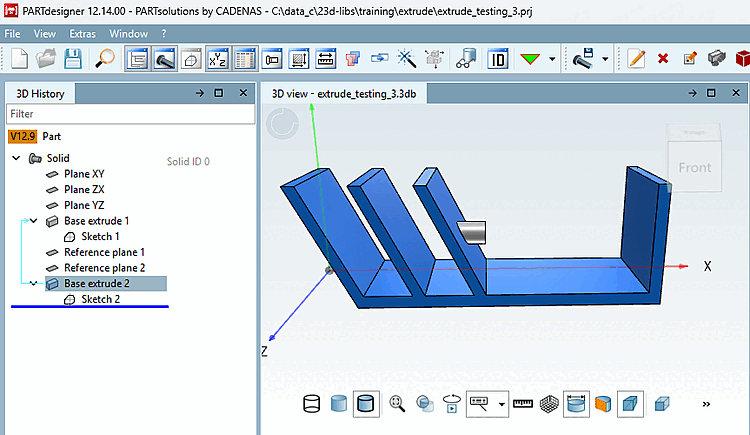
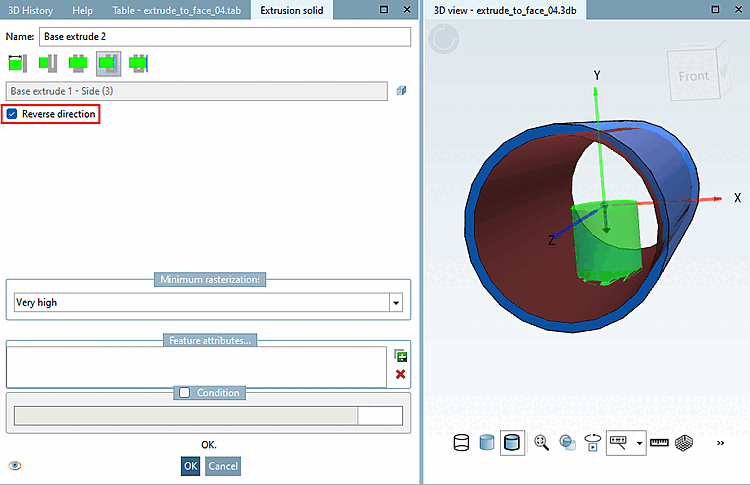
The " Reverse Direction [Reverse direction] " option can/must be used if the selected surface does not clearly specify the direction (as in a cylinder, for example).