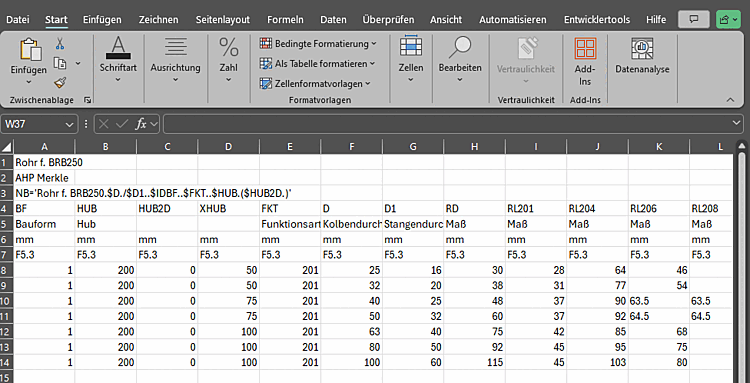
You can export a table as a CSV or XLSX file.
![[Note]](https://webapi.partcommunity.com/service/help/latest/pages/jp/partsolutions_user/doc/images/note.png)
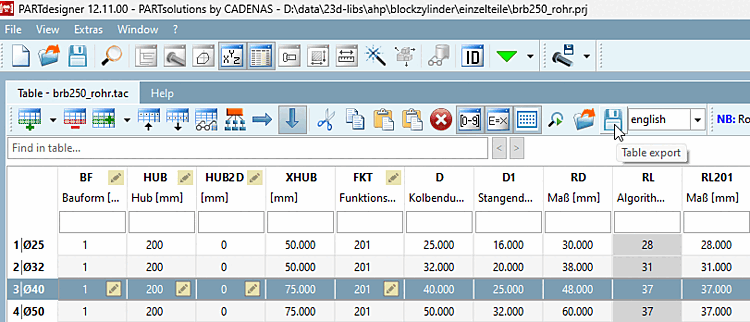
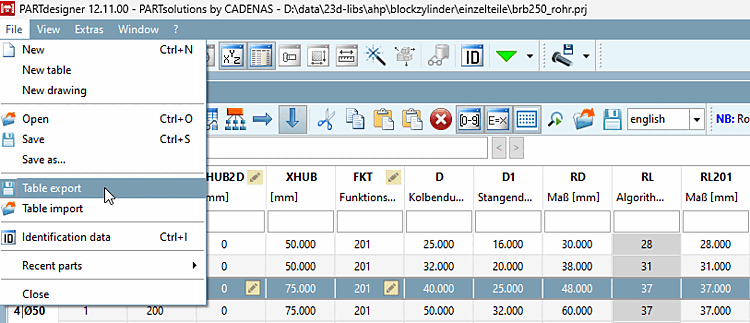
Above the table or in the File menu, the command
 tables
Export [Table export].
tables
Export [Table export].
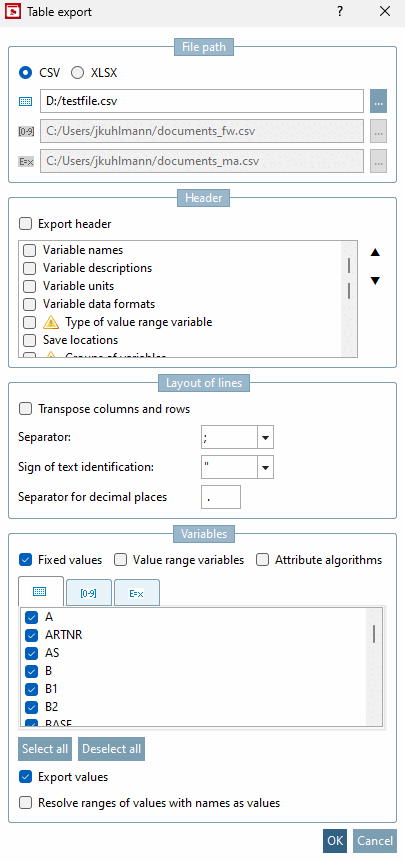
→ The Tables export [Table export] window opens.
In the File path area, select whether you want to create a CSV or an XLSX file.
Enter a complete path and file name for the CSV or XLSX file as the storage location. Click on the button opens the Save file as... window, in which you can change the default storage location (installation directory of eCATALOG 3Dfindit ).
Specify which components (header [Header], variables [Variables] ) are to be transferred and what the line structure [Layout of lines] should look like.
You can use the Export header checkbox to include the header row as the first column in the exported table.
The selection of possible header rows changes depending on whether you come from the variable management in PARTproject or from the table export [Table export] option in PARTdesigner.
You can use the Transpose columns and rows checkbox to select whether the row layout should be transposed.
Not transposed means one variable per column. Transposed means that columns and rows are swapped and there is one variable per row. This is supported for CSV and XLSX files.
A transposed table can also be imported again via the PARTdesigner. In the chapter Section 7.12.18, “ Import CSV file ” you can learn more about the import of tables.
Select the separator [Separator], text separator [Text identifying character] and the separator for decimal places [Separators for mantissa].
Use the Fixed values, Value range variables and Characteristic algorithms [Attribute algorithms] checkboxes to export the respective variable type. You can select and deselect individual or all variables in the table below.
You can use the Export values checkbox to output the values for the respective header. If the box is not checked, no values are output. If Export header is also unchecked, no file is generated.
If the option Resolve value ranges with names as values [Resolve ranges of values with names as values] is checked, its fixed value is also output in addition to the default value.
![[Important]](https://webapi.partcommunity.com/service/help/latest/pages/jp/partsolutions_user/doc/images/important.png)