12.3. How can I integrate the selected CAD model directly into the CAD system (PART2cad)?

Direct integration(PART2cad) simplifies the import of CAD models into the CAD system. These are loaded quickly and directly into the CAD system. There is no need to save the data temporarily.

[Note]Note

Prerequisite: A format has been selected under FormatsAdd formatsCAD direct integration with PART2cad. The display takes place under Your selection.

Example: Selection of "PART2cad Inventor (3D)"

Example: Selection of "PART2cad Inventor (3D)"

Proceed as follows:

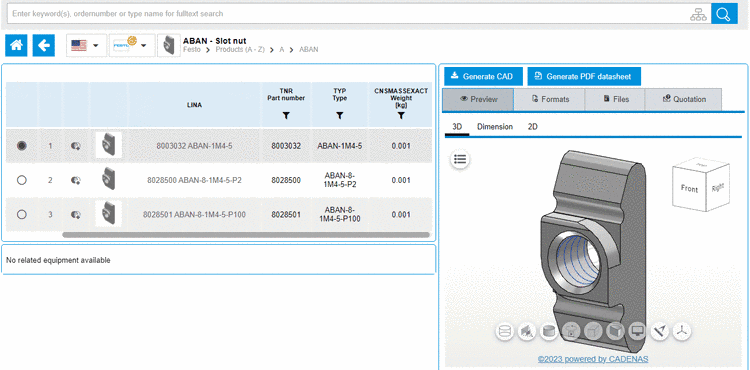
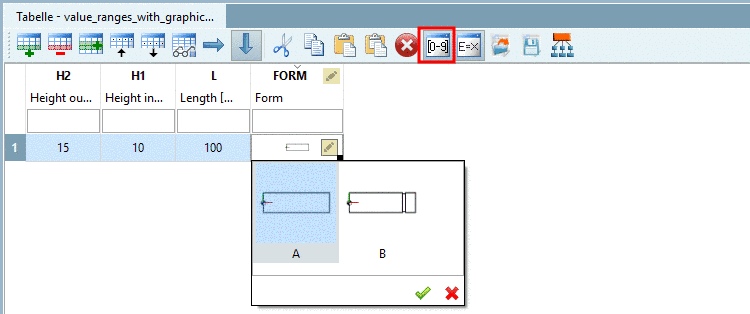
  1. Make sure that the desired part is specified in the table view (and also in the variable view if value range fields are available).

  2. Generate the component by clicking on the CAD or Generate CAD MODEL button.

    Generate CAD MODEL" button

    Generate CAD MODEL" button

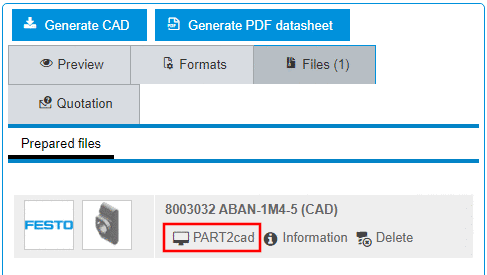
    ➝ As soon as generation is complete, the component is displayed on the Files Tabbed page.

  3. Click on the link PART2cad.

    Call up "PART2cad" direct integration

    Call up "PART2cad" direct integration

    ➝ Direct integration starts and a corresponding message appears.

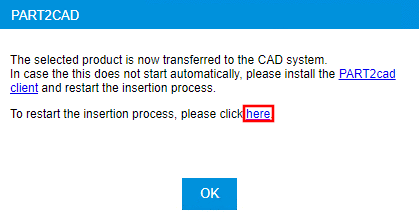
    PART2CAD" dialog

    PART2CAD" dialog

    If the PART2cad application component is already installed, you can ignore the following installation note. Otherwise, follow the instructions.

    [Note]Note

    The following dialogs may differ slightly depending on the browser used (here with Edge).

    1. Click on the PART2CAD Client link in the PART2CAD dialog.

      PART2CAD" dialog

      PART2CAD" dialog

      ➝ The download of the part2cad_xxx.msi package starts automatically.

      Downloads

      Downloads

    2. Open the msi file.

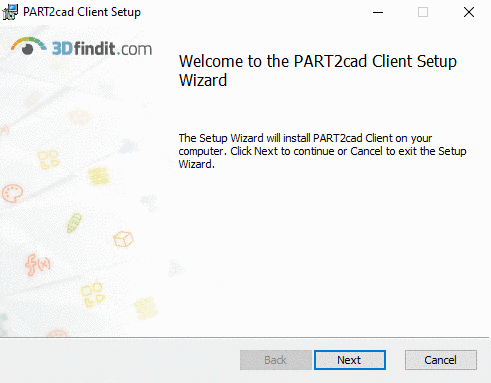
      ➝ Welcome to the PART2CAD Client setup wizard.

    3. Click Next.

      Welcome to

      Welcome to

    4. Agree to the license agreement and click Next.

      License conditions

      License conditions

    5. Click Install.

      Start installation

      Start installation

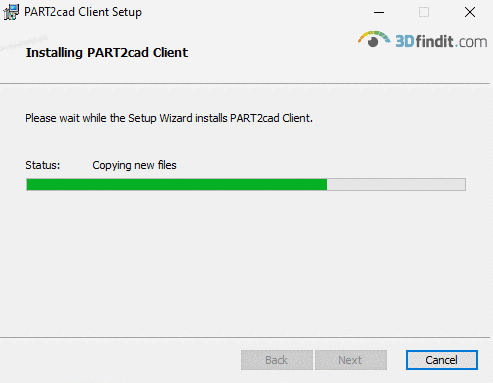
    6. Wait while the PART2CAD client is being installed by the setup wizard.

      Installation

      Installation

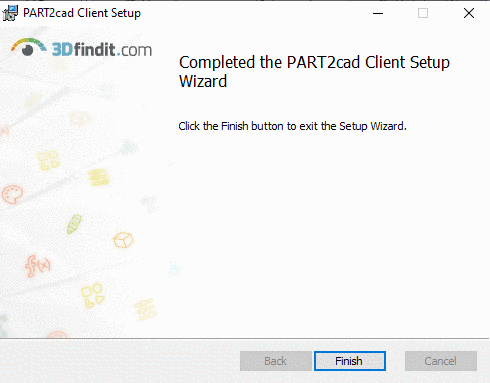
    7. Click Finish.

    8. Click on "here".

      If you do not want this dialog to appear every time you import into CAD, allow the website to open links of this type in the associated app (here Edge Browser as an example, other browsers accordingly).

      Dialog exemplary with Edge Browser

      Dialog exemplary with Edge Browser

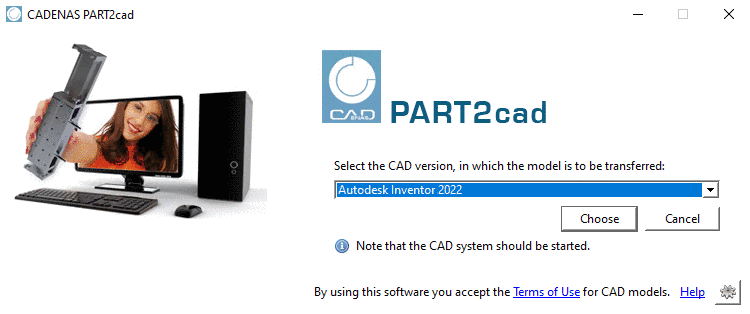
  4. Use the arrow button to expand the list field and select the CAD version to which the model is to be transferred. Confirm your selection with Select [Choose].

    Here is an example of the corresponding dialog for Autodesk Inventor 2019

    Here is an example of the corresponding dialog for Autodesk Inventor 2019

    [Note]Note

    Please note that your CAD system must be started.

    ➝ The export dialog opens.

    Here is an example of the corresponding dialog for Autodesk Inventor 2019

    Here is an example of the corresponding dialog for Autodesk Inventor 2019

  5. Use Browse ... to select the desired target directory and confirm with OK.

    ➝ The model is transferred to the CAD system.

    Model is transferred

    Model is transferred

    [Note]Note

    When the transfer to the CAD system is complete, a corresponding message appears.

    CAD transfer completed. [CAD transfer complete.]

    CAD transfer completed. [CAD transfer complete.]