![[Note]](https://webapi.partcommunity.com/service/help/latest/pages/jp/ecatalogsolutions/doc/images/note.png) | Note |
|---|---|
This feature was only available for versions < 12.12 for testing purposes and is now officially released and available with version 12.12. | |
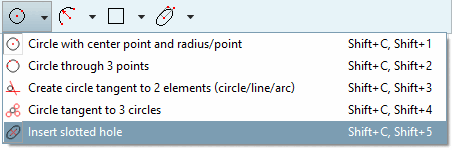
 slotted hole
insert [Insert slotted hole]
slotted hole
insert [Insert slotted hole]
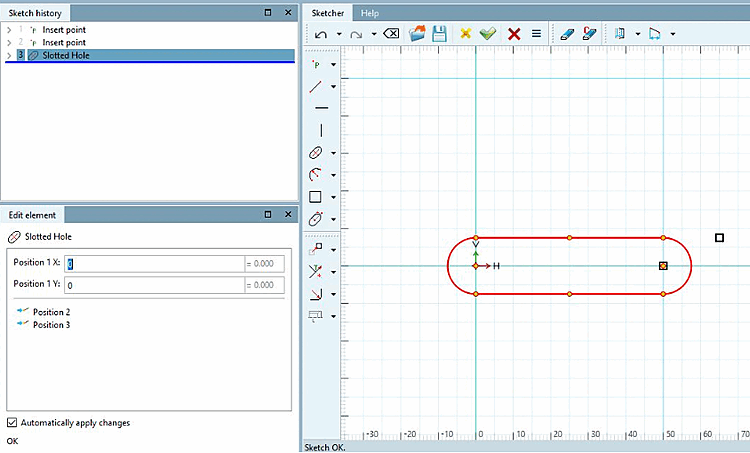
Depending on whether one or two reference points or a free click was used, the two windows Sketch history and Edit element show different input fields. The click sequence also plays a role.
This results in a total of four different options for defining a slotted hole:
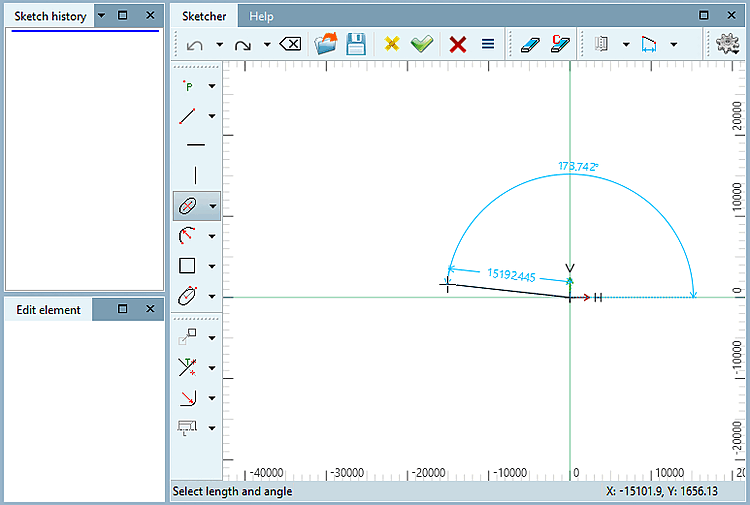
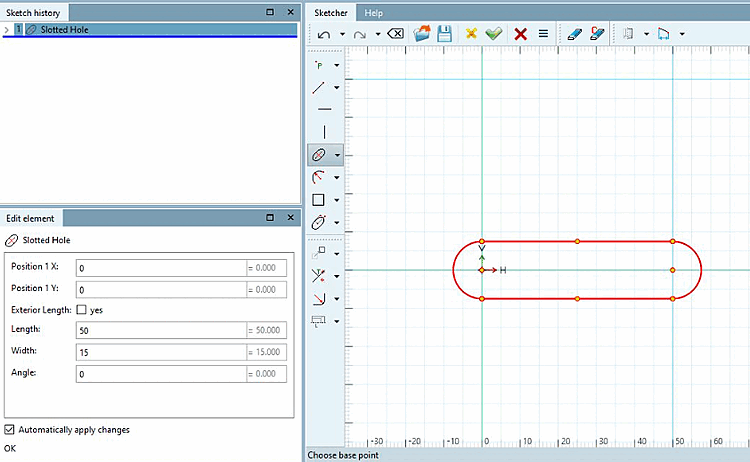
3 free clicks to determine the length, angle and width of the slotted hole
Determine the position of the first semicircle by clicking freely.
Determine the distance of the second semicircle to the first and the angle to the first point by clicking freely.
Adjust the individual parameters in the Edit element docking window.
Optionally, you can specify the definition of the outer length [Exterior Length]:
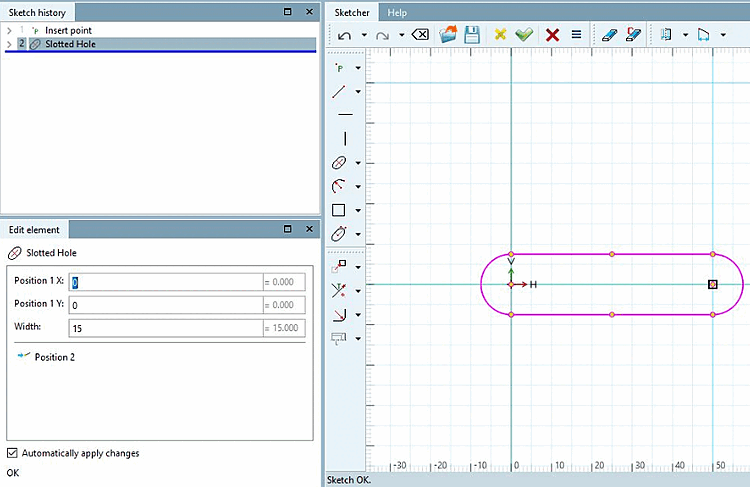
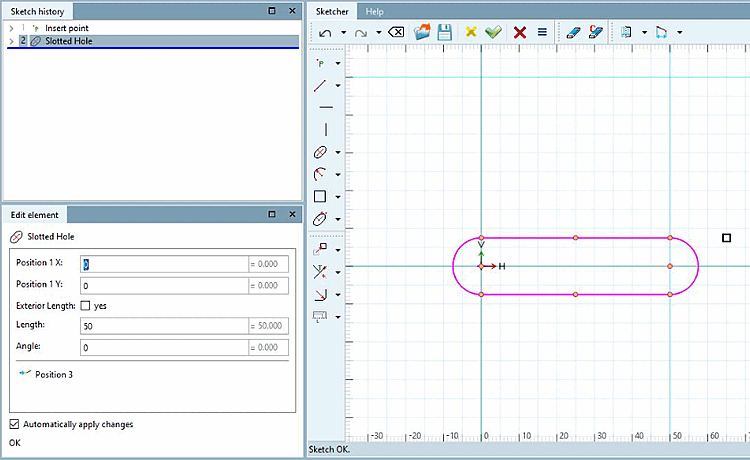
1 reference point and 2 free clicks for length/angle and width
Determine a reference point for the center of the second semicircle.
Determine the center of the first semicircle by clicking freely.
In the Edit element docking window, you can now change the position of the freely selected point if required. The pivot point of the slot is the center of the second semicircle.
2 free clicks for length and angle and a reference point for width
1 free click for positioning the 1st semicircle, reference point for length and angle and reference point for width
Determine the center of the second semicircle using a reference point.
Determine the width of the slotted hole using a second reference point.
In the Edit element docking window, you can now change the position of the freely selected point if required. The pivot point of the slot is the center of the second semicircle.