Insert all parts into the configuration needed to assemble the hinge.
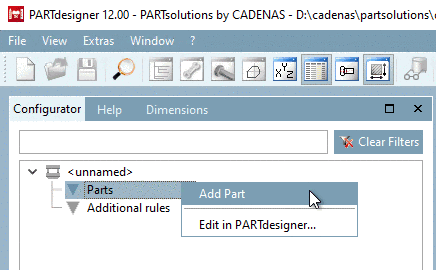
In the docking window Configurator, in the context menu of Parts, click on Add Part.
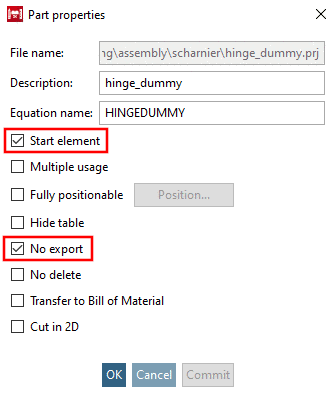
Activate the checkbox Start element and No export .
In older versions, at this place the part color could also be determined. As of version 11 please set color information in the docking window Settings -> tabbed page General -> Color and texture or preferably under Render attributes.
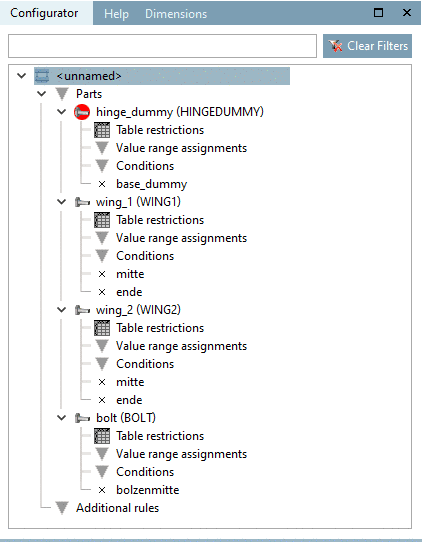
-> The part icon in the index tree is highlighted in red
 and thus marked as Start element.
Insert "fluegel.prj" (leave the default settings in the dialog box).
Insert the "bolzen.prj" (leave the default settings in the dialog box).
When all parts have been inserted via context menu command, following picture emerges:
-> Below the level of parts you can find the directories Table restrictions, Value range assignments and Conditions.
-> The "x" shows the connection point's name which has been assigned to the part in PARTdesigner.
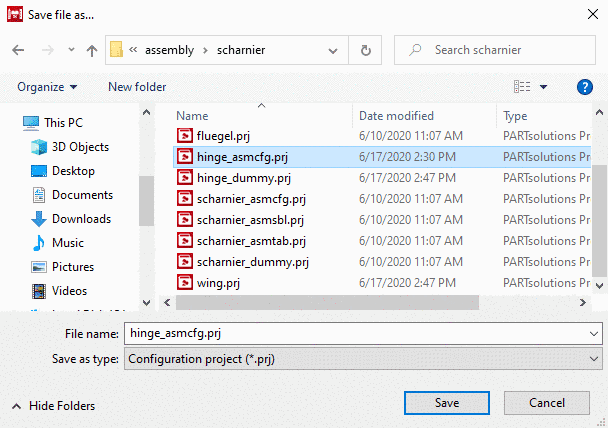
Save the assembly configuration via File menu -> Save.
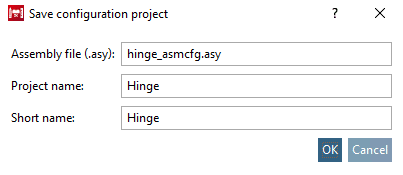
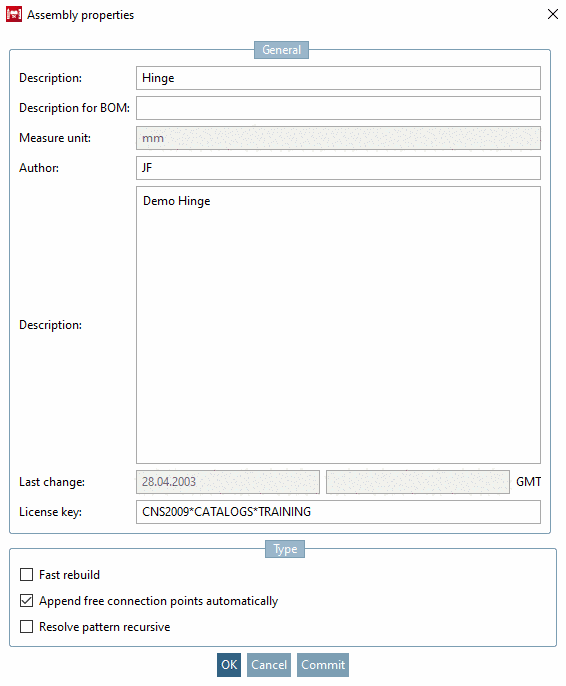
Finally the dialog box Assembly properties is opened.


![[Note]](https://webapi.partcommunity.com/service/help/latest/pages/jp/3dfindit/doc/images/note.png)
